Quick answer
The solar installation process involves more than the day panels are placed on your roof. A residential project typically moves through consultation, site review, system design, permits, utility approvals, installation, inspection and Permission to Operate. The physical installation may take only a few days, but the full timeline depends on the home, local permitting authority, inspection schedule and utility.
Homeowners often imagine solar installation as a single construction appointment. In reality, it is a coordinated project involving design, electrical work, roofing considerations, local code requirements and utility interconnection.
Understanding what happens at each stage makes it easier to review the proposed system, respond to requests and recognize the difference between a normal approval period and a project that needs attention.
Plan
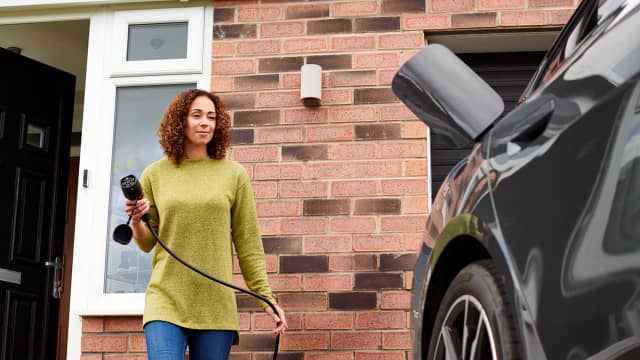
Assess the home and electricity needs
Design
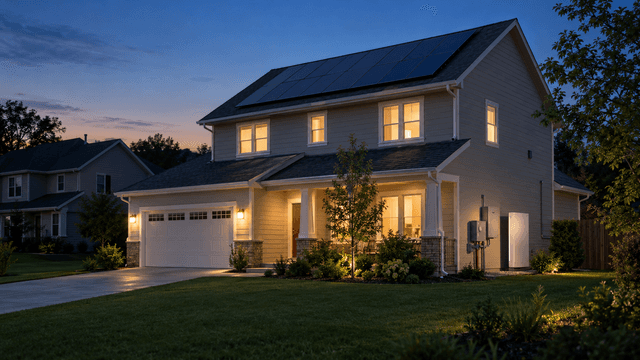
Develop a property-specific system
Approve
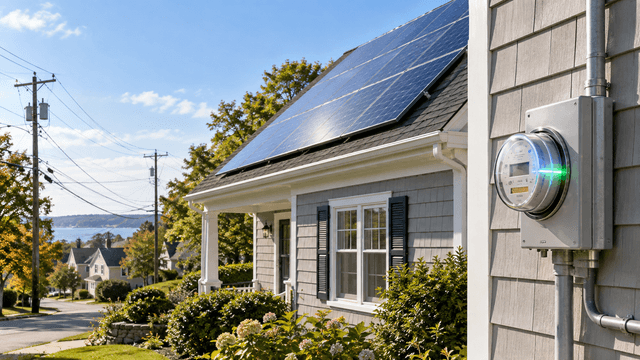
Secure permits and utility approvals
Activate
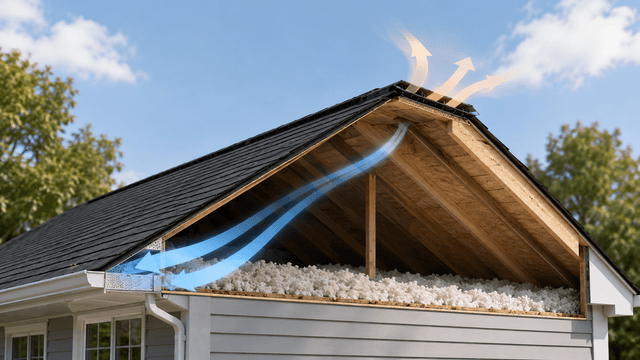
Install, inspect and receive PTO
The solar installation process at a glance
The exact sequence can vary by location and project. However, most professionally installed residential solar systems move through the following stages.
01
Consultation and initial assessment
Review the home, electricity use, roof conditions, project goals and available payment options.
02
Site review and system design
Confirm roof measurements, shade, electrical conditions and equipment placement before developing the final design.
03
Permits and utility applications
Submit the required project documents for local approval and utility interconnection review.
04
Professional installation
Install the mounting system, panels, inverter and electrical equipment according to the approved plan.
05
Inspection and corrections
Complete required inspections and resolve any documented corrections before final utility authorization.
06
Permission to Operate
Receive utility authorization, activate the system and begin monitoring solar production.
Installation day is not activation day
Do not turn on a newly installed system until the responsible provider confirms that required inspections and utility authorization are complete.
Step 1: Consultation and initial solar assessment
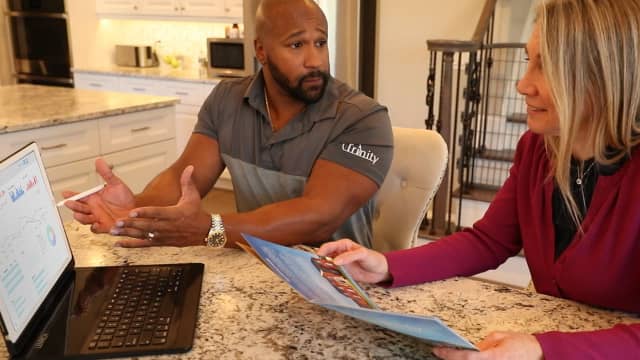
The first stage connects the homeowner’s electricity needs with the physical conditions of the property. A useful consultation should examine more than roof size or a recent electric bill.
The Solar Expert may review:
- Recent and seasonal electricity use
- Potential future changes such as an electric vehicle
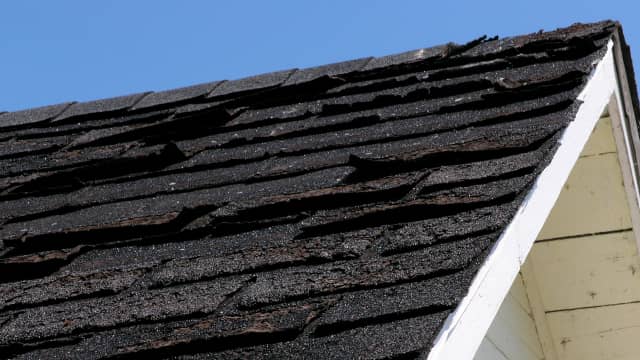
- Roof age, condition, direction and usable area
- Shade from trees, chimneys or nearby structures
- Available purchase, loan, lease or PPA options
- Project goals, estimated production and expected costs
Bring recent utility information and ask how the recommendation connects electricity use with expected system production. Home size alone does not reveal how much solar a household may need.
If roof suitability is still uncertain, review the factors that determine whether a house can have solar panels.
Step 2: Agreement, site review and system design
After the initial assessment, the project moves from a preliminary recommendation to a property-specific plan. The provider may confirm roof measurements, structural conditions, electrical equipment, shade patterns, panel locations and installation access.
The design should show how the panels and supporting equipment will fit the home. Before approving it, understand what is being proposed and whether anything changed from the original estimate.
| What to review | What to confirm | Why it matters |
|---|---|---|
| Panel layout | Number, location and direction of panels | Shows how the available roof area will be used |
| Equipment | Panels, inverter and other included components | Connects the proposal to equipment-specific warranties |
| Production estimate | Expected annual kWh and key assumptions | Explains what the proposed system is designed to produce |
| Electrical work | Whether upgrades or additional work are required | May affect scope, scheduling and cost |
| Project documents | Payment, warranty, cancellation and transfer terms | Defines responsibilities beyond the physical installation |
Ask for significant design or equipment changes in writing. If the final layout differs from the original proposal, ask how the change affects system size, expected production, appearance, cost and project timing.
Step 3: Permits and utility interconnection approvals
Residential solar projects generally require approval from the local authority and coordination with the electric utility. These are connected processes, but they serve different purposes.
Local permitting
Building and electrical compliance
The local authority reviews the submitted plans against applicable permitting, building, electrical and safety requirements.
Utility interconnection
Connection to the electric grid
The utility reviews how the system will connect with its grid and what requirements must be completed before operation.
Processing time varies by jurisdiction, utility, season and project complexity. A delay during this stage does not automatically indicate a problem with the system. Ask which submission is pending, when it was filed and whether additional information has been requested.
What homeowners can control
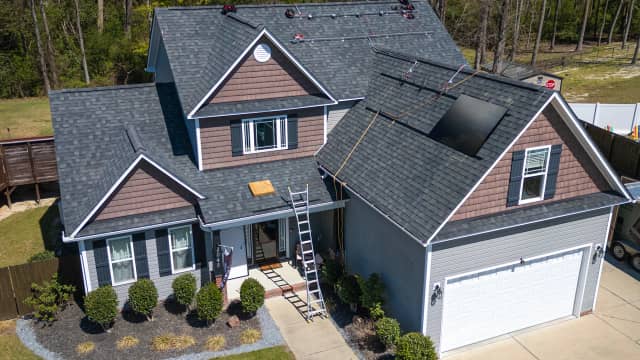
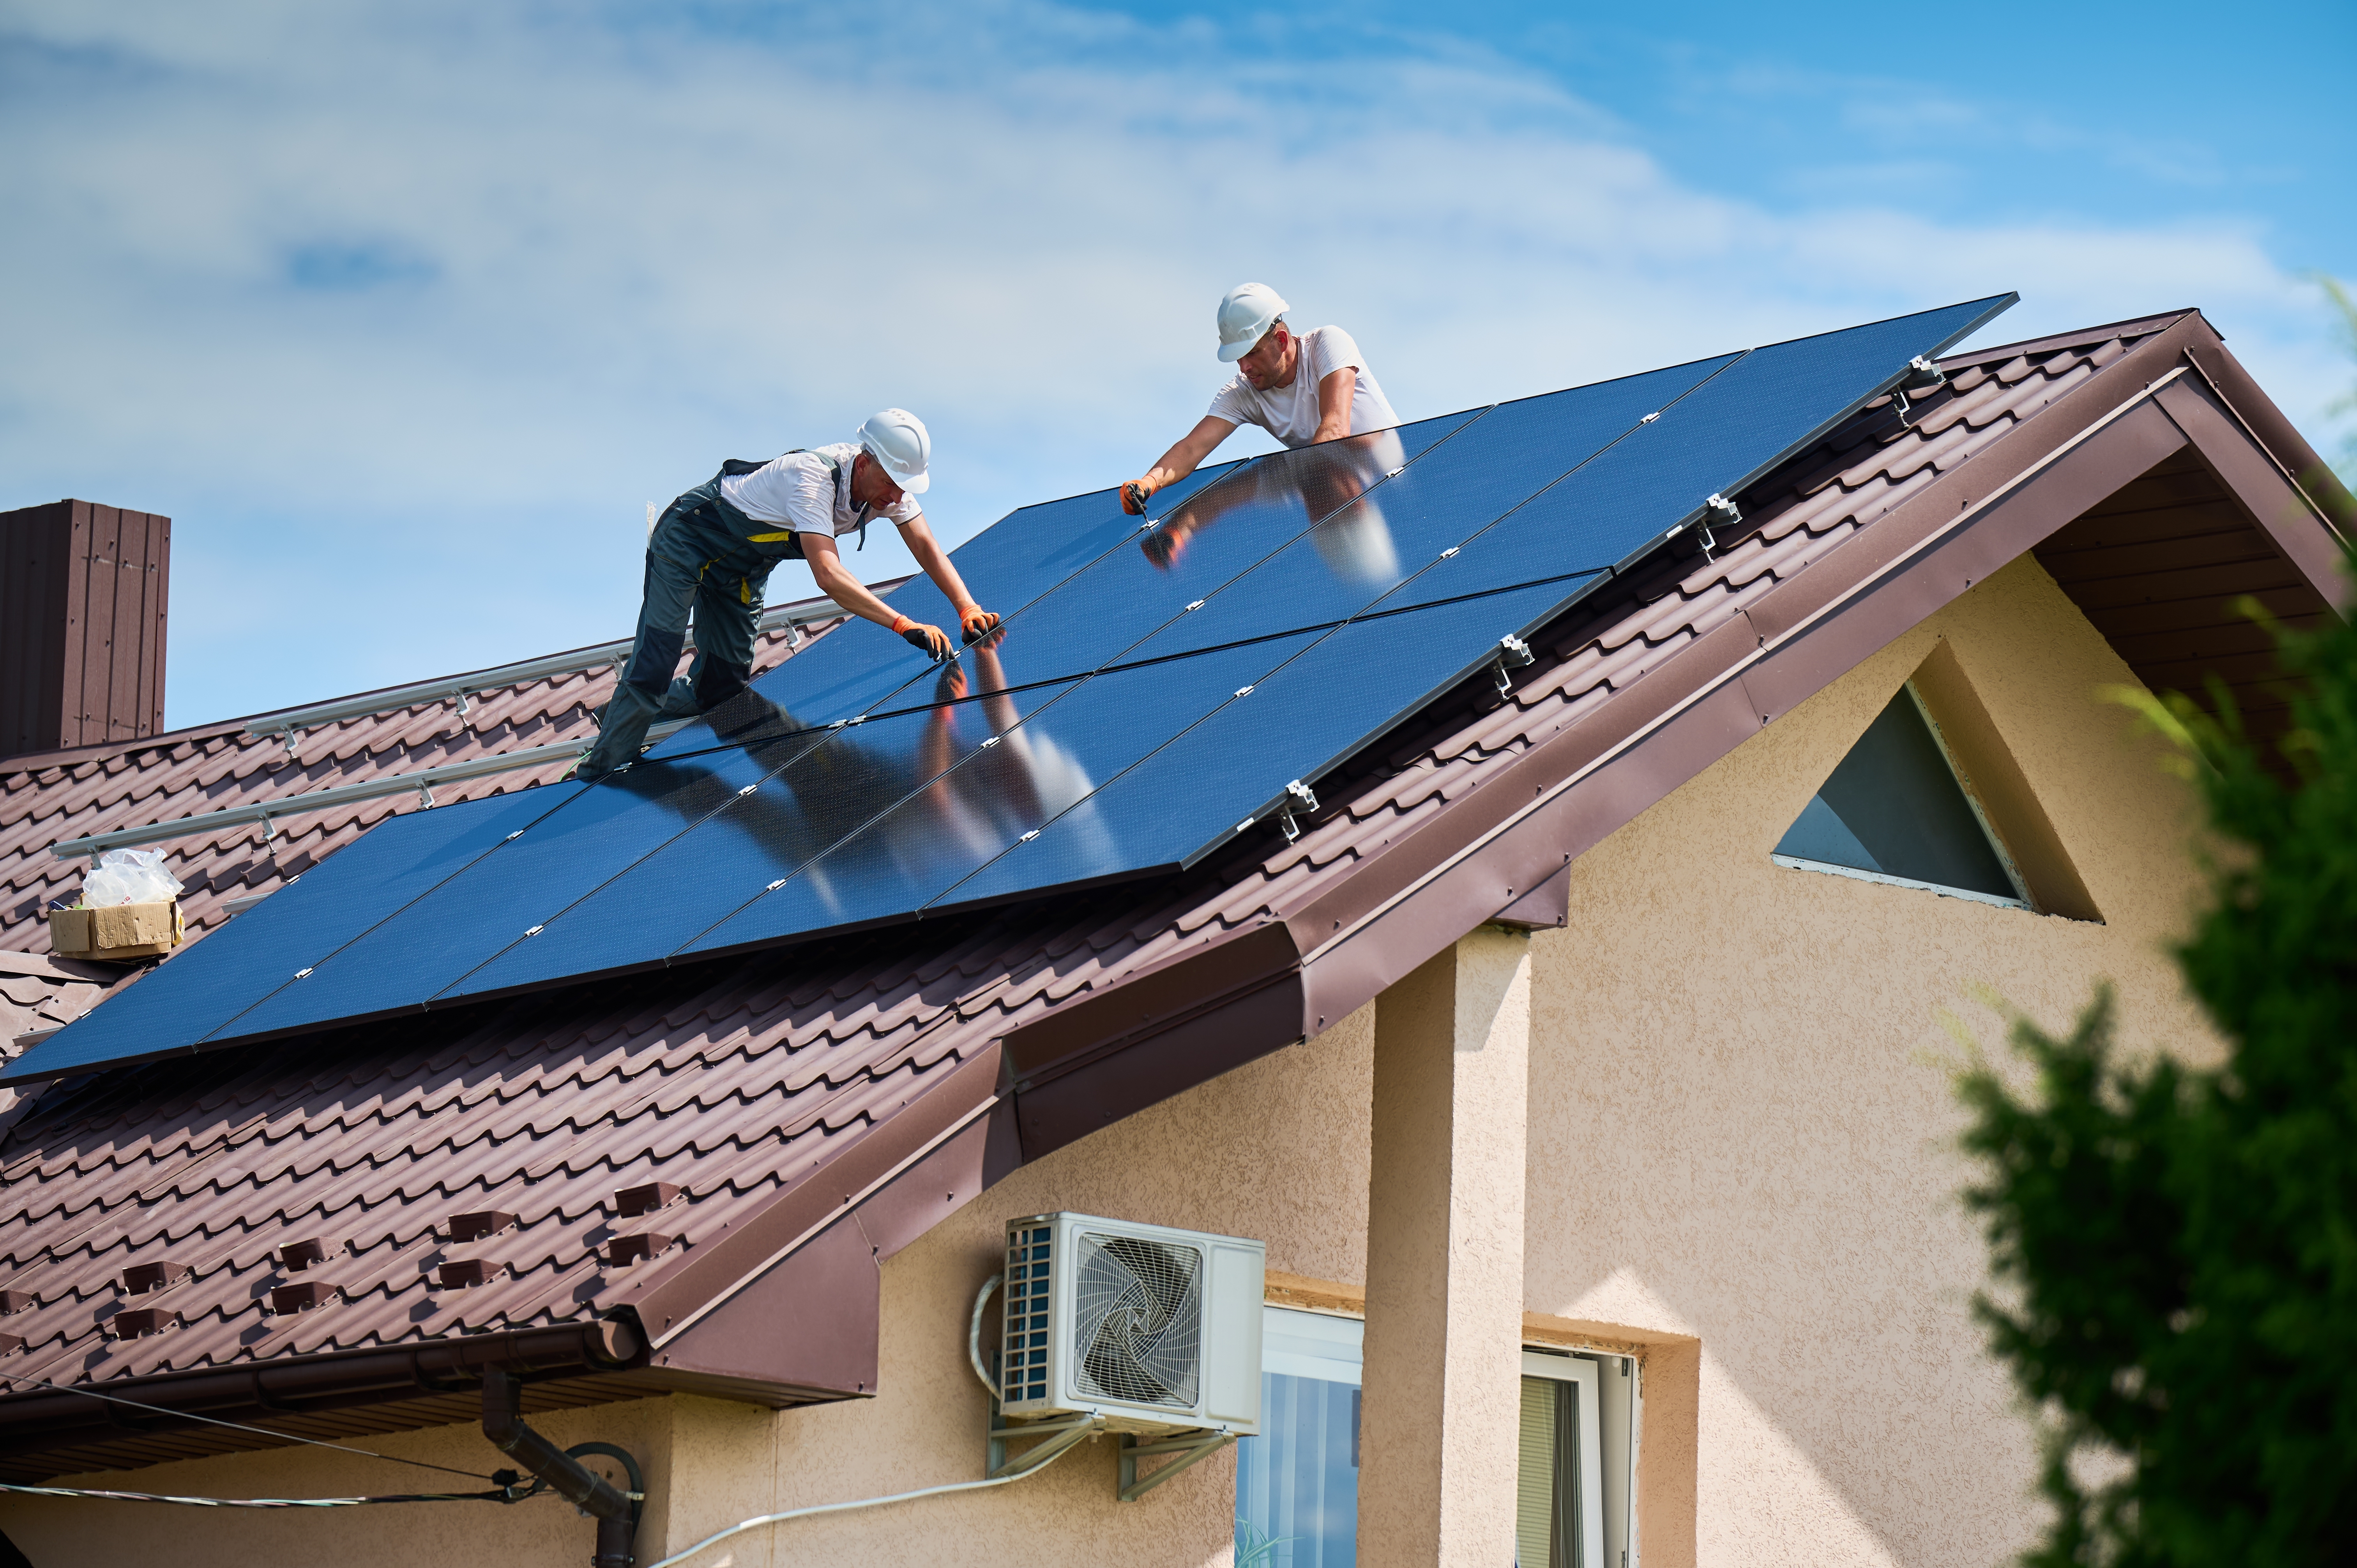
Step 4: What happens on solar installation day?
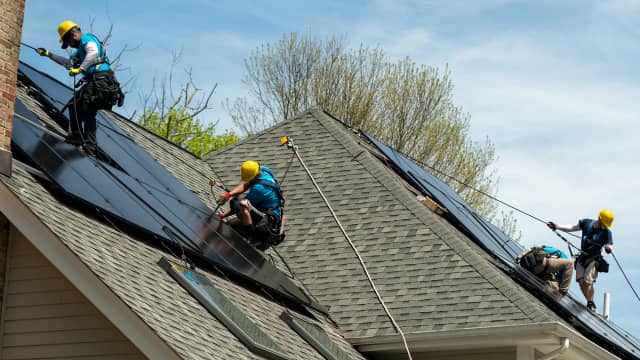
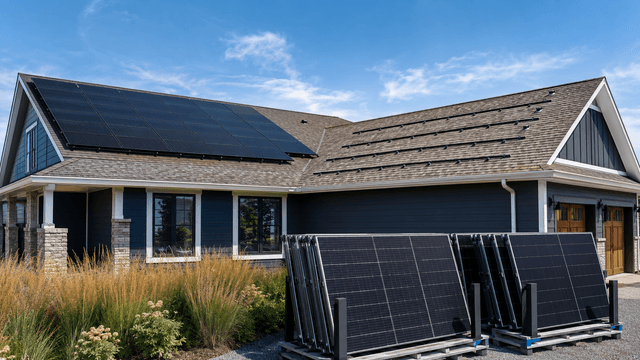
Once the required pre-installation approvals are in place and the property is ready, the installation team can begin work. Trinity reports that the physical installation commonly takes one to three days, although the exact duration depends on the system and property.
The crew may complete several connected tasks:
- Prepare the work area. Confirm access, equipment locations and safety conditions.
- Install the mounting system. Secure the approved attachment and racking components.
- Place the solar panels. Install the array according to the approved layout.
- Complete electrical work. Connect the panels, inverter and required electrical equipment.
- Label and check the system. Complete required labels, connections and installation-quality checks.
- Clean the property. Remove project materials and leave the work area orderly.
Homeowners should keep the driveway, electrical panel and agreed work areas accessible. Ask in advance whether power will need to be interrupted, whether someone must be home and how vehicles, children and pets should be kept away from the work zone.
Step 5: Inspection, corrections and final documentation
Completing the physical installation does not finish the approval process. Required inspections must confirm that the installed system matches applicable plans, codes and safety requirements.
If an inspector identifies a correction, the provider may need to complete the work and arrange another review. A correction does not always indicate a major defect; it may involve documentation, labeling, equipment placement or another specific requirement.
| Project status | What it means | Best question to ask |
|---|---|---|
| Inspection scheduled | The installed work is waiting for the required review | When is the appointment and is access required? |
| Correction required | A documented item must be addressed before approval | What is being corrected and when will it be reinspected? |
| Inspection passed | The required local review has been completed | What still must be submitted to the utility? |
| PTO pending | The utility is reviewing the final interconnection requirements | When was the final package submitted? |
Step 6: Permission to Operate and system activation
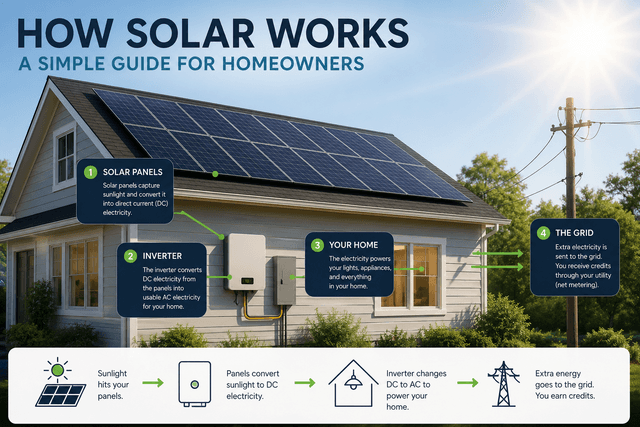
Permission to Operate, commonly called PTO, is the utility’s authorization to connect and operate the completed solar system with the electric grid. It typically comes after installation, required inspections and submission of the final interconnection documents.
PTO matters because a system being physically complete does not mean it has been cleared for normal operation. Wait for confirmation from the responsible provider before activating it.
PTO answers one specific question
Has the utility authorized this completed system to operate with the grid? It is not the same as signing the agreement, receiving permits, finishing installation or passing a local inspection.
After activation, the provider should explain how to access monitoring, interpret basic production information and request support. Keep the PTO notice, approved design, equipment records, warranties and service contact information together.
Our guide to what to expect during your first year of solar explains the transition from installation to ongoing system ownership.
How long does the solar installation process take?
There is no universal total timeline. The physical installation is only one part of the project, and it may be much shorter than the approval periods surrounding it.
Timing can be affected by:
- Project and system complexity
- Roof or electrical work required before installation
- Local permit-processing volume
- Utility interconnection requirements
- Inspection availability
- Design corrections or requested documents
- Weather and installation scheduling
Instead of relying on one broad completion estimate, ask for the current stage, the next required action, who controls it and whether anything is needed from you.
A clearer status check
What homeowners should keep during the project
Organized records make it easier to review changes, follow the project and resolve questions after installation. Keep copies of:
- The signed agreement and payment documents
- The approved system design and panel layout
- Equipment specifications and warranties
- Permit and utility approval records
- Inspection results and documented corrections
- Permission-to-Operate confirmation
- Monitoring instructions and service contacts
- Important emails, change orders and project updates
For a closer look at the protections connected with different parts of the system, review what solar panel warranties actually cover.
Final thoughts: solar installation is a sequence of approvals
A successful solar project connects the physical installation with design, permitting, inspection and utility requirements. The crew’s work on the roof is important, but it is one stage within a larger process.
The most useful way to follow the project is to know its current stage, the next required action and who controls that action. This creates a clearer picture than treating every period between appointments as the same kind of delay.
Start with a property-specific plan
See what the solar process could look like for your home
A Trinity Solar Expert can review your electricity use, roof conditions and project goals before developing a custom system recommendation.
Continue learning